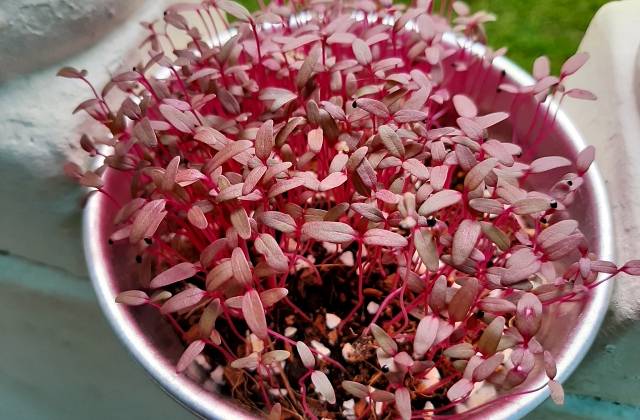
The Fun Of Cutting Micro Greens On Tissue Paper
Microgreens are a very interesting plant that looks just like a normal lawn grass. They are so small that they actually grow in your soil and not need to be bought as a houseplant or planted in the ground. But what makes them different from traditional houseplants is that they can survive the cold winter months even when they’re indoors, which makes them a great addition to your collection of indoor plants. Planting microgreens on tissue paper has become an extremely popular pastime, because it allows you to keep your home green and aesthetically pleasing all year long. This article will provide you with some tips and tricks on planting microgreens on tissue paper so that you can enjoy their beauty and benefits all year long.
One of the easiest ways to plant microgreens on tissue paper is by taking care of what you start out as. The first thing you need to do is make sure that you buy the right type of micro green plant. Typically, they will be sold in garden centers and nursery stores. Make sure to check each plant carefully so that you get one that is suited for your area. This means that you need to understand how the microgreen species that you choose to grow best in your climate and location before you buy them.
Once you’ve found the one that you want, it’s time to prepare the microgreen. You should prepare the plant by removing all of the leaves from the stems as well as any decaying parts. You should also take special care to remove any insects that might be nesting on the plant. When you cut off the top, you’ll have a clear view of the foliage that’s sitting above the roots and can be harvested with scissors.
Once you’ve prepared your microgreen plant, you need to take it right out of its container and into your vat of water. Keep in mind that microgreens will shrink once you cut them from their original package. Micro greens are best stored in a dark place, such as a dark cupboard or basement. If they’re put in a light place, the leaf color may become irregular and the leaves could get discolored. Before you put your microgreen into a container of water, you need to sterilize it. Sterilizing is done using a solution of salt and water.
To sterilize the microgreen, put it in a pot with about two inches of water inside it. Carefully drop the tiny plant into the solution and let it sit for about an hour. While it’s soaking, you should remove the leaves and stems from the roots. Then, remove the plant from the water and rinse it off thoroughly. After you’ve done that, you should re-pot the plant and re-store it in a place where it will remain warm and well cared for.
You might find microgreens drying out on tissue paper over time. To combat this problem, you can soak the area a couple times a day with water and mild soap. This shouldn’t be too hard of a job to accomplish. Just make sure that you don’t leave the tissue paper directly on the cutting surface for too long of a time. Discard the tissue paper immediately after you cut it.
When you find that your microgreens have dried out completely, you can store them in an airtight container. Store them at room temperature and not in the sunlight. Some experts even suggest putting your microgreens in a refrigerator if you don’t have a very good air circulation. However, microgreens don’t do well in freezing temperatures. So, make sure you never store them under a frosty vase or in a freezer.
Microgreen tissue looks great when it’s cut into fresh leafy greens. However, you can get great results with a few other types of cuttings such as strawberries and chard. Keep in mind that with any type of cutting, you must pay attention to the size of the piece. It’s better to use more microgreens on a piece of tissue than to have the tiny pieces of tissue lying around looking at you like a big green thumb. Dry up any excess water from your green tissue and wrap it in cellophane.