How To Properly Prepare And Sell Live Microgreens
It is fun to talk about growing microgreens indoors with people because they are a very common plant. Microgreens come from the arugula flower. When you buy these flowers in the summer, the flower buds are still covered with a white powdery substance that you have to get rid of before you can ever harvest the leaves. This material can be very smelly and you definitely do not want anybody to smell it when they are eating your delicious fresh microgreen arugula salad.
The great thing is that there are some microgreens that will never have to be picked off the plant. Some grow quite large and you will never have to waste any of their leaves. If you want to try selling live microgreens, the first step you want to take is to purchase some potting soil from your local garden store. If you do not have any pots you can purchase some plastic bags from the craft or hardware store.
You also want to purchase some medium to dry peat moss. This is very helpful for growing microgreens because it will keep the seeds moist until they germinate. You should be able to find peat molds in your local nursery or hardware store. As an added bonus, purchasing seeds from a local nursery means you are getting a quality product and using a natural substance.
Once you have the appropriate supplies, you are ready to get started. The next step is to purchase a jar with at least three inches of the microgreen product. This will be how you are going to transfer the seeds from the trays into the jars for sale. You will need to have at least two jars per tray or per plant. There are many factors you will need to consider when determining how many jars you will need to complete this process.
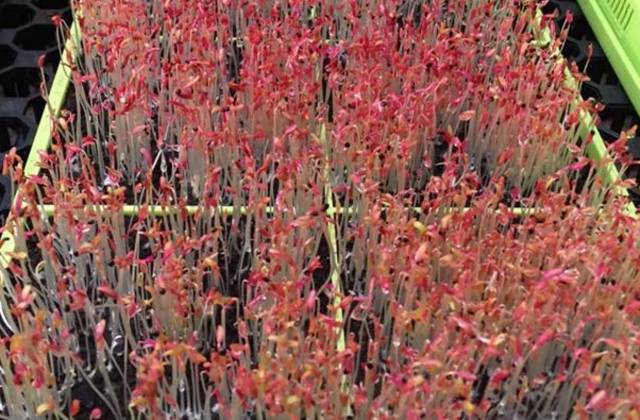
The first factor is the type of micro green seed that you are growing. There are many different types of seeds that can be used for growing arugula. These include golden seeds, red seeds, black seeds, blue seeds and even pink seeds. There are many factors you need to consider when deciding which variety of arugula to use. For example, gold arugula tastes better if they have been lightly roasted.
The second factor is moisture level of the microgreens you are growing. If you choose red or black seeds, you will want to ensure they are being planted in an area that is well drained. If you choose blue microgreens, you will want to plant them in areas with good drainage as well as have your seed tray well roasted prior to planting. Golden arugula will taste much better if they are being planted in the shade because they are a bit more drought resistant. Pink seeds will taste much better if they are being planted in acidic soil. Blue microgreens do not taste as good in acidic soil, so you will want to avoid planting them in such an area.
The final consideration when planting seeds is how the microgreens are going to be supplied. You can choose to hand pick the seeds or have a third party to deliver the seeds to you. For hand picked seeds, you will need to make sure the weather is conducive to seed germination. This means standing water in the soil around where the seeds are being planted. When using third party delivery services, you will also need to ensure that your seeds are delivered in a plastic container so no insects can get to them.
When you are ready to begin selling microgreen arugula, the best way to make your seed starting and growing easier is to have a proper seed starting compost. Microgreens are very sensitive plants and taking care of them is essential for their growth. If you are new to growing microgreens, be sure to consult with someone who has more experience so you do not end up overwhelming yourself with the responsibility of growing these tasty little arugs. When growing microgreens, remember that they require a high calcium and magnesium diet so make sure you are providing them with the right elements to grow well.