Growing Micro Greens Using Microgreen Home Kit
If you love eating green things but are tired of buying commercial produce, consider planting a home grown microgreen in your kitchen. The Microgreen Home Kit comes with three packets of seeds and an attractive reusable planting tray. As it kind of sounded important to use this, I kind of assumed that to be something I needed…it kind of looks like it should be part of the kit. Actually, everything you need to plant microgreens.
When growing microgreens, the best thing to do is to use the best soil you can find for growing them. The good news with using fresh organic soil is that it will not only help your plants to get all the nutrients they need but will also retain moisture better than ordinary store bought soil. Do not use any cheap nursery soil as it will dry out very quickly and not look as natural as the good stuff from the nursery. In the microgreen home kit, I found one packet of seeds and two of those packets were not as vibrant in color as the rest of the packets.
The seeds in the microgreen home kit come in eight different colors. One packet has purple seeds and one has red seeds. Each color has a different growing time and you should take this into account when you plant them. Plant the seeds in peat moss in your garden and make sure the clay soil the mung beans are growing on has plenty of water and oxygen in it.
Another tip for growing microgreens is to get started growing them in pots. One very nice feature on the Microgreen Homes kit is that they have pots you can buy separately. These pots have an extra large hole in the bottom so you can put a little more dirt in the bottom than usual. This is nice because the pots allow you to water the seeds deeply before they start growing. You also get the advantage of being able to move the pots around if you want to improve the height or spread out the plants.
Microgreen seeds do not like being planted directly onto the hard ceramic tile floors in most cases. The Microgreen kit comes with two planting trays that are removable. Put one of the trays down first then put the second tray in an area where it will be visible but hidden from view. If you live in a small apartment or have a house that does not have a raised floor, you can try putting the microgreens in a pot upside down on a tray of moistened soil.
For successful growing of microgreens, you will need to purchase some pots with holes in the bottom. Some people choose to put the trays and seed mix into the pots before the seeds are added, but you may want to leave the holes in the pots until the growing kit arrives. If you decide to wait, make sure that your pots are plastic, glass or metal and that they have no sharp edges so as not to injure your children while they are growing.
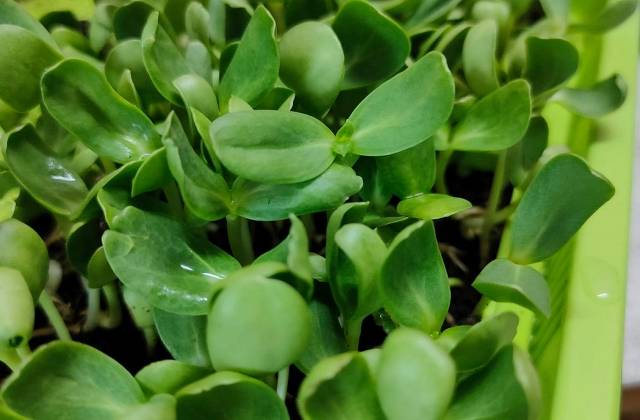
To grow the microgreens properly, you must provide a good growing environment. The kit contains several small planting trays that are placed on top of moist soil. Most people find it easier to place the micro green seeds in the bottom of the trays and water them slowly over a period of a few weeks. When the first set of leaves appears, they will be ready to harvest. Harvesting should be done after the second set of leaves appear. Harvesting should be done right after the last set of leaves appear.
Another option for growing microgreens is to purchase a growing tray that contains a large assortment of micro green seeds. This type of kit will give you an opportunity to select your favorite colors and will contain everything you need to get your plants started. If you prefer not to spend a lot of time or money by growing your own microgreen, you can buy a variety of seeds and plant them in a variety of containers.