A Microgreen Gardener’s Guide
Breathe life into your kitchen again with the microgreen grower from Seattle. Each microgreen grower comes with its own Seattle Seed starter kit of top quality microgreen seeds and soil to transform any backyard gardener into an indoor garden expert as well. Enjoy healthy, attractive microgreens on your favorites salads and side dishes at home. The micro green sprouts have larger blooms than other types of green vegetables and taste just like they do in the garden.
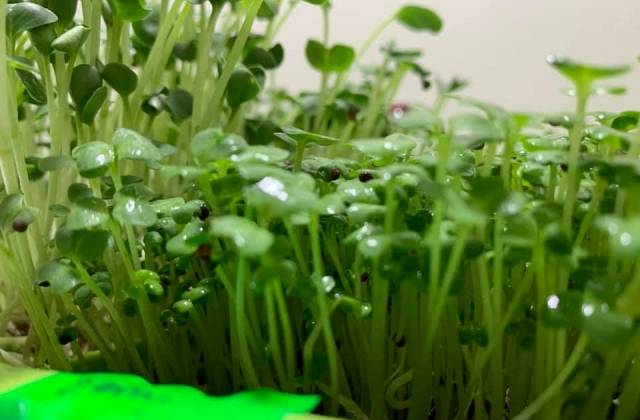
Microgreen grown in the soil are smaller than the other varieties, so you will want to be careful in selecting the best one for your growing area. Make sure that the microgreen grower you purchase is of the correct size for the amount of space you have available. Most kits contain enough for a standard-sized plot but you may want to double or triple the amount if you have a larger garden or have a balcony or patio. Choose a microgreen grower that comes with an assortment of top quality varieties for the best results.
When planting microgreens ensure that they are not exposed to full sunlight before planting. Sunlight can cause the sprouts to become dormant or even to burn. Some of the more common varieties include lettuce, alfalfa, broccoli, cilantro, chard, kale, romaine lettuce, cabbage, Swiss chard and summer squash. It is important not to over-water these plants. They will do fine with a light application of compost and fertilizer every week.
As the sprouts mature, they will start to form a network of roots and need a supply of water. Since microgreen growing allows for the sprouts to self-seed, it is important not to over-water the seeds. Instead water the sprouts just enough to remain moist and allow the roots to absorb water through the network of roots.
Once the sprouts have formed networks, place the pots upside down in an area where the soil is cool and well-drained. The microgreen grower should be placed on top of the pots, allowing the soil to drain. Most seed packets indicate the ideal weather conditions for planting microgreens. Place the seeds about two inches deep in the holes in the bottom of the pots and fill in the gaps with dirt. This will ensure proper coverage of the entire seed packet.
The microgreen weed barrier acts as a screen for the seeds. The barrier limits the growth of weeds and keeps aphids and other insects from contaminating the edible greens grown from the sprouts. Since microgreen growing seeds are self-sustaining, they don’t need to be fertilized. A regular watering routine is all that is necessary. In areas where the growing season is brief, it is not uncommon for the edible greens grown from these small plants to remain green during droughts.
When the sprouts begin to form and the soil conditions become suitable, the microgreen grower can be sprayed with fertilizer. Fertilizer should be applied at least two to three weeks before the sprouts start appearing. This will help to ensure that the entire growing season has been filled and the microgreens have produced healthy plants.
There are several varieties of micro green plants available. Some of the more popular varieties include Belgian blue, Canada blue, dwarf red, dwarf white, kale, kohlrabi, purple coneflower, red wigglers, and Swiss chard. Since microgreen growing seeds are self-sustaining, they don’t need to be fertilized. However, if continuous growing is desired, it is recommended that fertilizers are applied on a regular basis throughout the growing season.
In order to germinate seeds and start growing, there are a few guidelines that should be followed. It is important to plant seeds not further than their planting area or other previous garden location. This will ensure that the microgreens do not spread beyond their starting area. It is also important to ensure that the area is well-drained and has good soil quality. The soil should be firm but well-moisture, as seedlings require good soil to start growing.
Microgreen gardening allows one to produce healthy plants at a low cost. These varieties have been bred to resist disease, which makes them resistant to common garden pests. They are very easy to grow, especially compared to annuals. Microgreen seeds can be grouped into several groups including: Blue, Belgian blue, Canada blue, dwarf red, kohlrabi, purple coneflower, red wigglers, and Swiss chard.
With the variety of microgreens available, it is possible to grow microgreens organically. Most varieties are grown in containers, which are then put into a raised bed with a shallow soil layer. Some are even grown directly in flower beds, providing a fresh and vibrant supply of living microgreens. In addition to using a growing medium, it is possible to provide the microgreens with some additional nutrients such as fertilizer. Creating a micro green garden with organic matter in the form of compost or peat moss provides an excellent source of nutrients that is necessary for healthy plant growth.