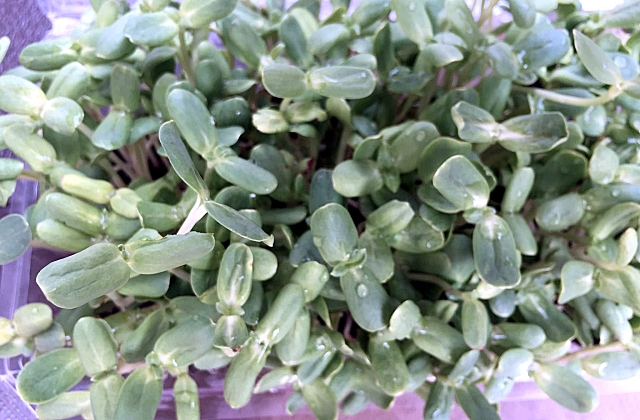
What Are Quinoa Microgreens?
Quinoa is becoming one of the best choices for a gluten free diet; specifically because it’s high in fiber, protein, different vitamins, and even a whole array of minerals. All in all, it s considered quite a super healthy food. However, if you’re like most people, you probably don’t have a garden or a countertop where you can conveniently plant your quinoa microgreens. If that’s the case, don’t despair! There are other options for growing your very own quinoa.
There are several options for growing quinoa, but none are as convenient as quinoa growing kits. Instead of digging holes in the earth to sprout your crops, these kits let you plant your seeds directly into the ground. With these kits, all you have to do is water the soil every couple of days. The good news is that you can easily grow your own quinoa microgreens in your own kitchen. Here are some tips for learning how to start growing microgreens.
Before you get started, make sure that your seed packets are fresh. Packaging can sometimes cause problems with microgreens, so it’s always best to purchase them a few days before you plant. Another important factor is that you should plant your seeds about a week ahead of time. This ensures that the microgreens have enough of a head start to grow big and strong. Keep in mind that microgreens tend to grow quickly; about 10 days is more than enough. Once you’ve planted your seeds, you’ll need to put them in a warm and sunny location for about a week.
Quinoa and cabbage microgreens both love moisture, so be sure that you place them in a location that has plenty of it. For instance, if you’re planting in an area with high humidity, you should place your seed packets in a cool moist place such as your basement or a coop in your garden. Cabbage tends to dry out quite a bit once it is picked, so you should also make sure that you pick from a well-drained location. If you’re putting the seedlings in direct sunlight, you should check the area for moisture on a regular basis. You should also try to keep the seedlings away from frost, which will kill your plants.
One tip for growing cabbage microgreens is to place them about a week ahead of schedule. If you plan on harvesting them in a week, they’ll be ready to harvest when you get to them. On average, it takes about twelve days for cabbage to mature. Harvesting them before they’re ready will delay the harvest, as well as reduce the amount of flavor they have. Cabbage leaves turn out darker with age, so don’t think that harvesting them too early changes that. Just be sure that they’re in an area that receives at least twelve hours of sunlight.
Quinoa and cabbage lettuce microgreens are very easy to grow, but it’s important that you remember that these two are actually different species of lettuce. You can expect a harvest time between eight and ten days for each variety. If you harvest lettuce leaves before they turn dark, you’ll get better flavor from the leaves.
When you plant quinoa and cabbage microgreens, you should make sure that you have a trellis system installed to provide support for the plants as they grow. Lettuce can be tough to grow, especially if you don’t have a trellis system in place. However, as long as you provide support as they grow, you shouldn’t have any problem growing these two options. Once they are established, you should notice that they taste like sunflower seeds rather than lettuce.
Quinoa and cabbage microgreen plants take quite awhile to mature. When you’re planting them, you should be prepared to replant them every six months. The microgreens will continue to grow until just before they are about to fall over, at which point they will die. After replanting, keep in mind that the sunlight they receive is limited, so you might want to plant them out in partial shade or in areas where they can receive some additional sunlight. Placing the plants right after you clear the area of weeds should also help to keep the microgreens from getting lost.